This guide will walk you through the final assembly steps for your Maslow 4.1 CNC, including connecting all the components, wiring, and initial calibration.
Prerequisites
Before proceeding, ensure you have completed:
Step 1: Mount the Router Assembly to the Sled
Place the router assembly onto the sled, aligning the power cord with the dust collection port outlet. The router is mounted at four points: two on Z-axis motor shafts and two sliding via the linear ball bearings.
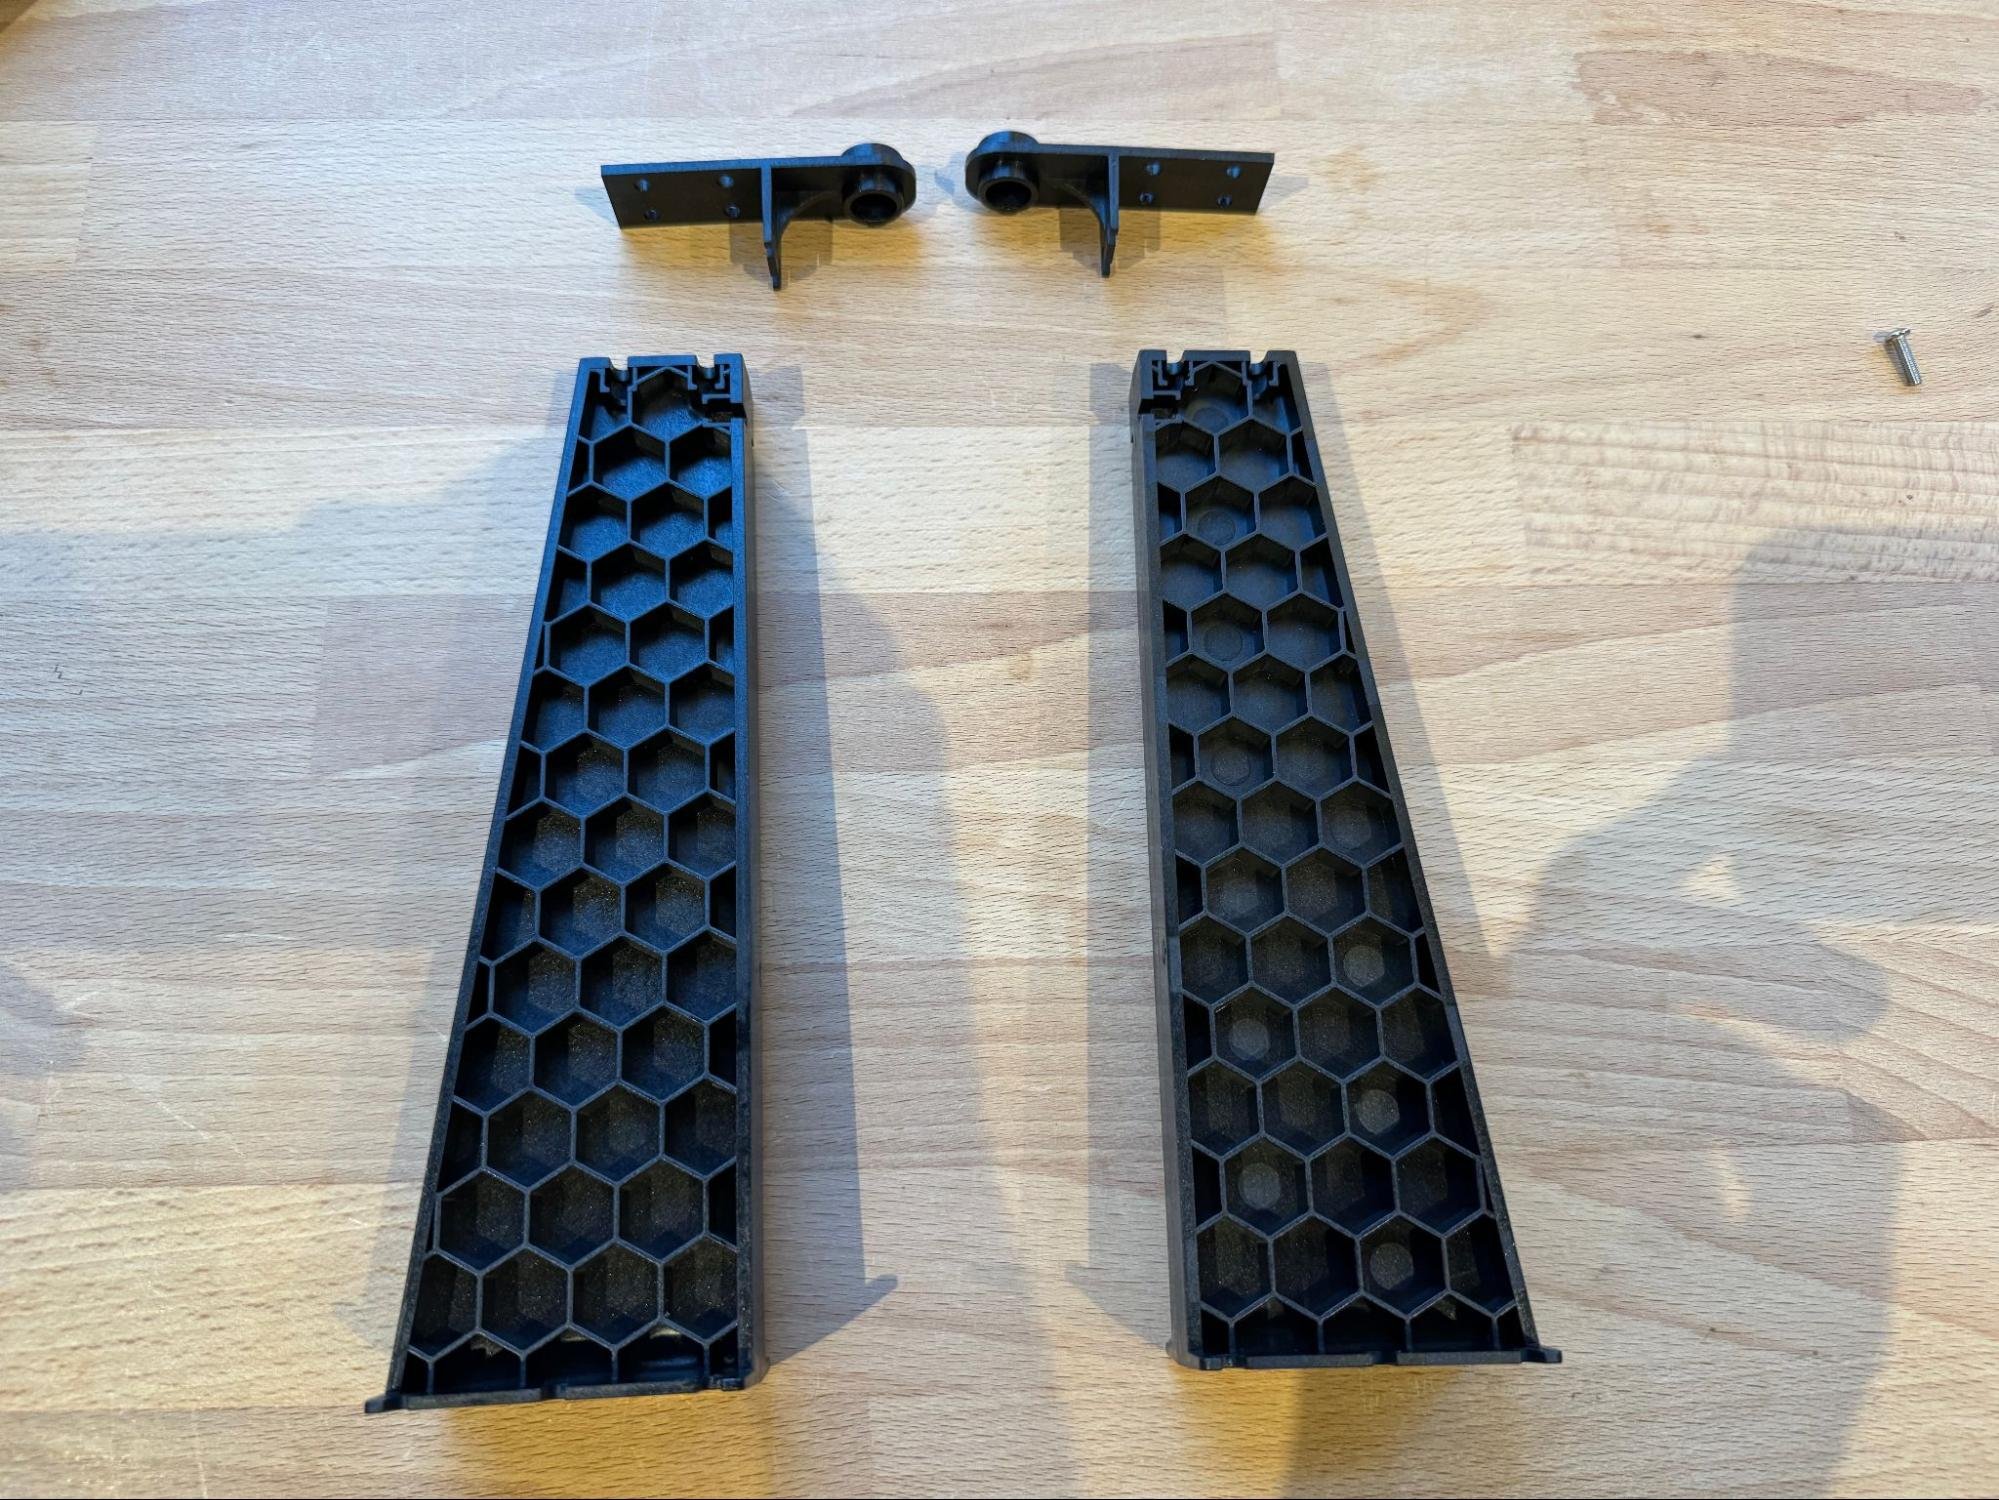
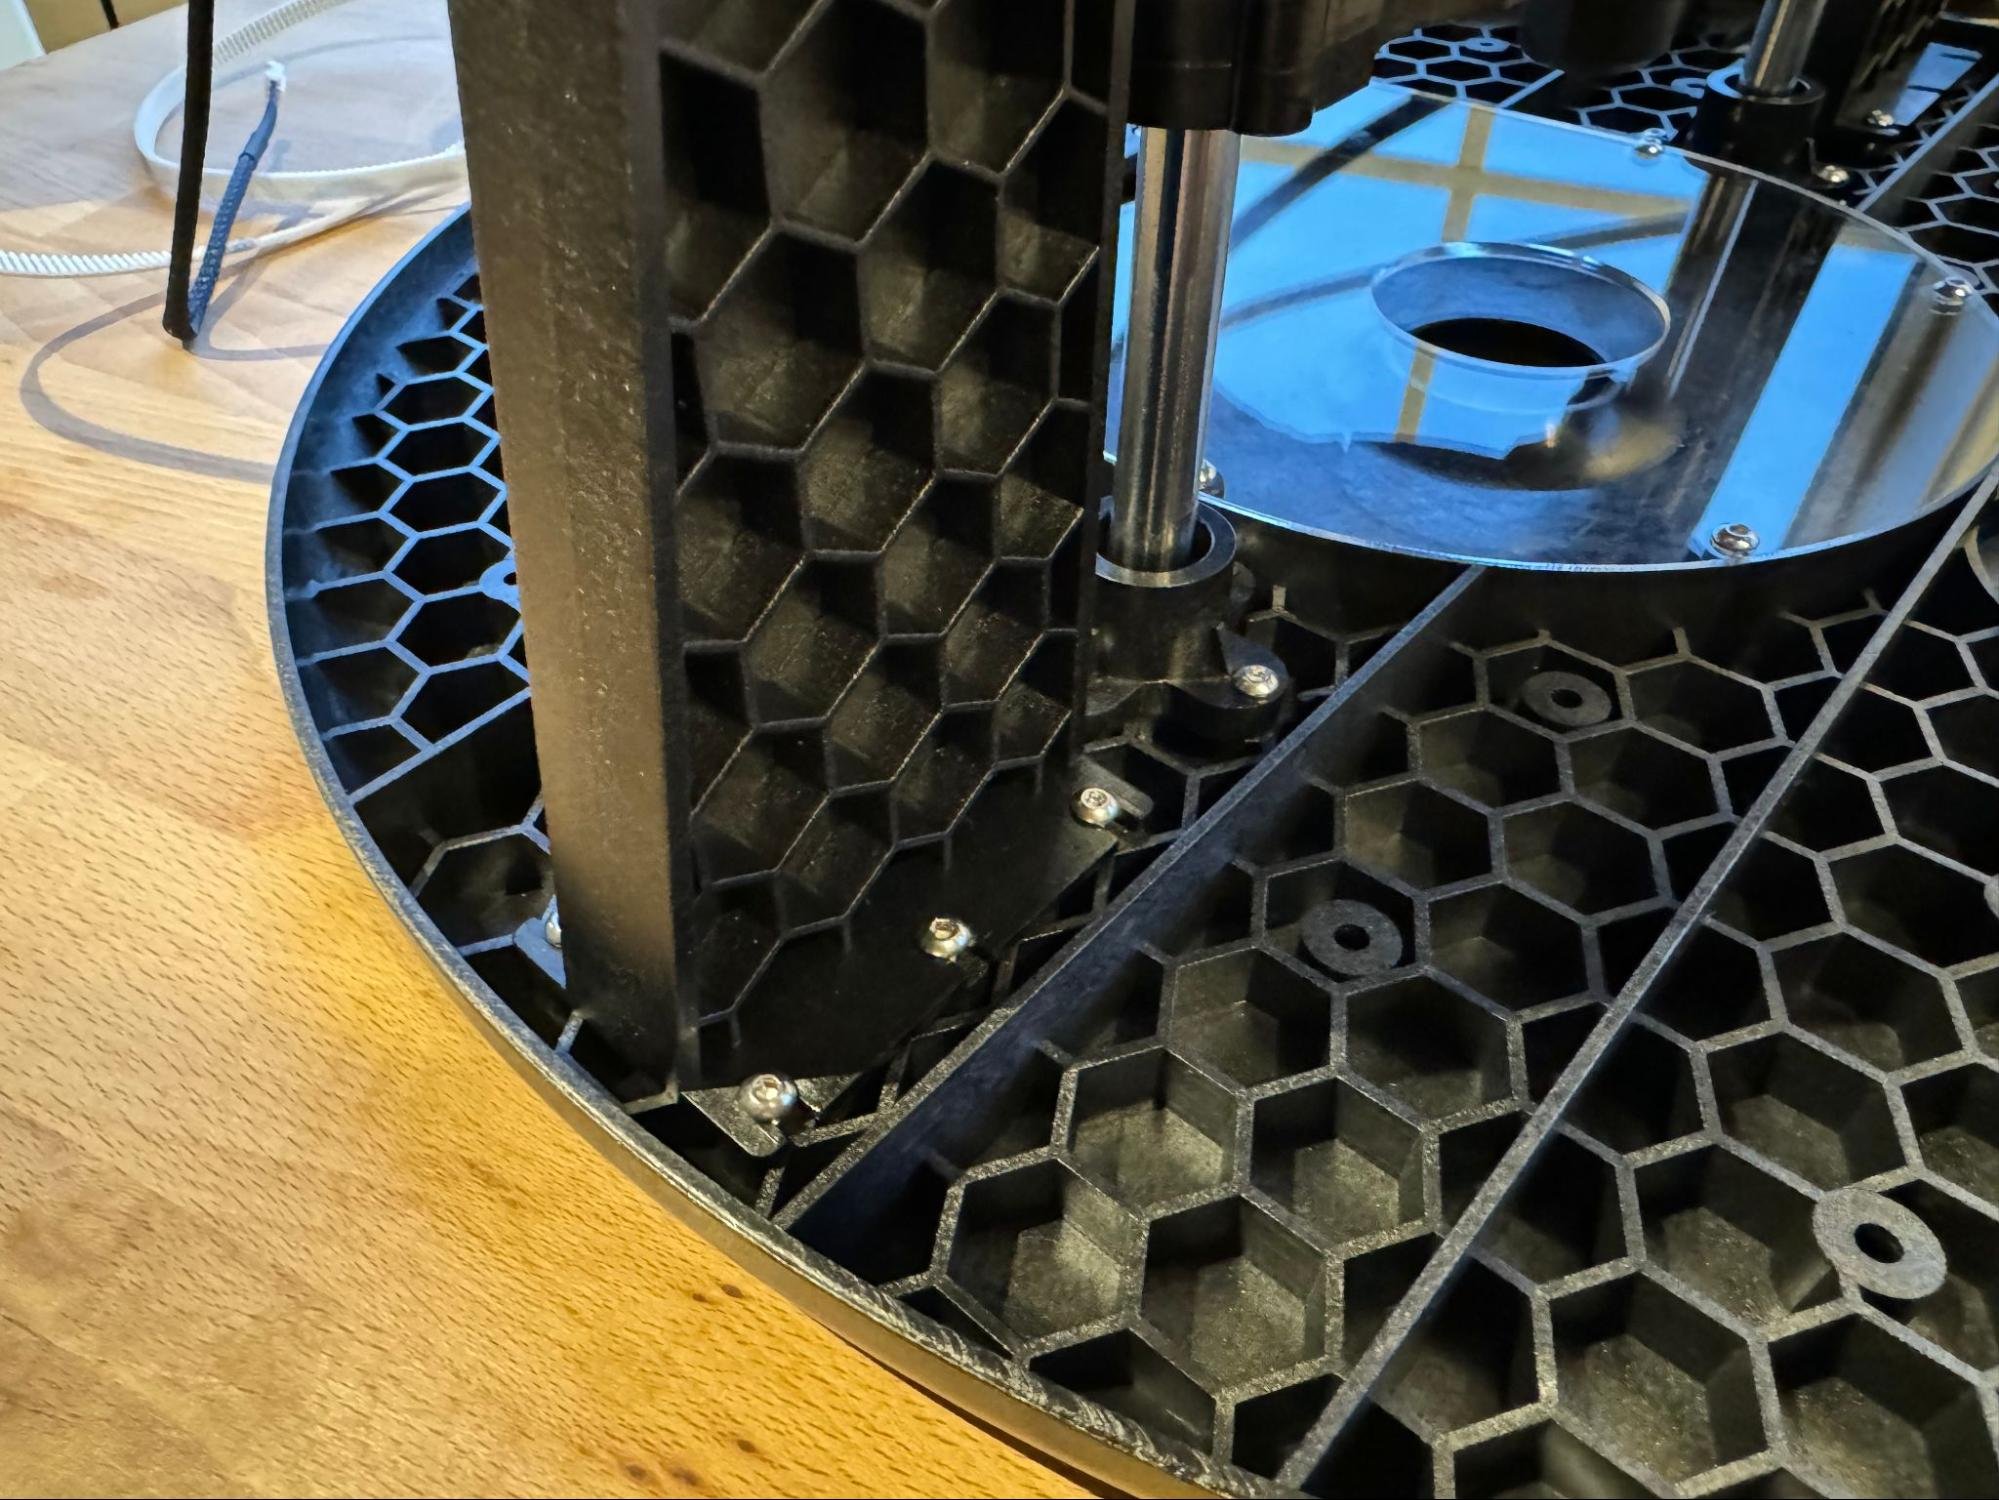
Step 2: Attach Arms to Sled
The four arms rotate around the router body and attach between two clamps. Join all unsupported parts using bolts, tightening gently and gradually.

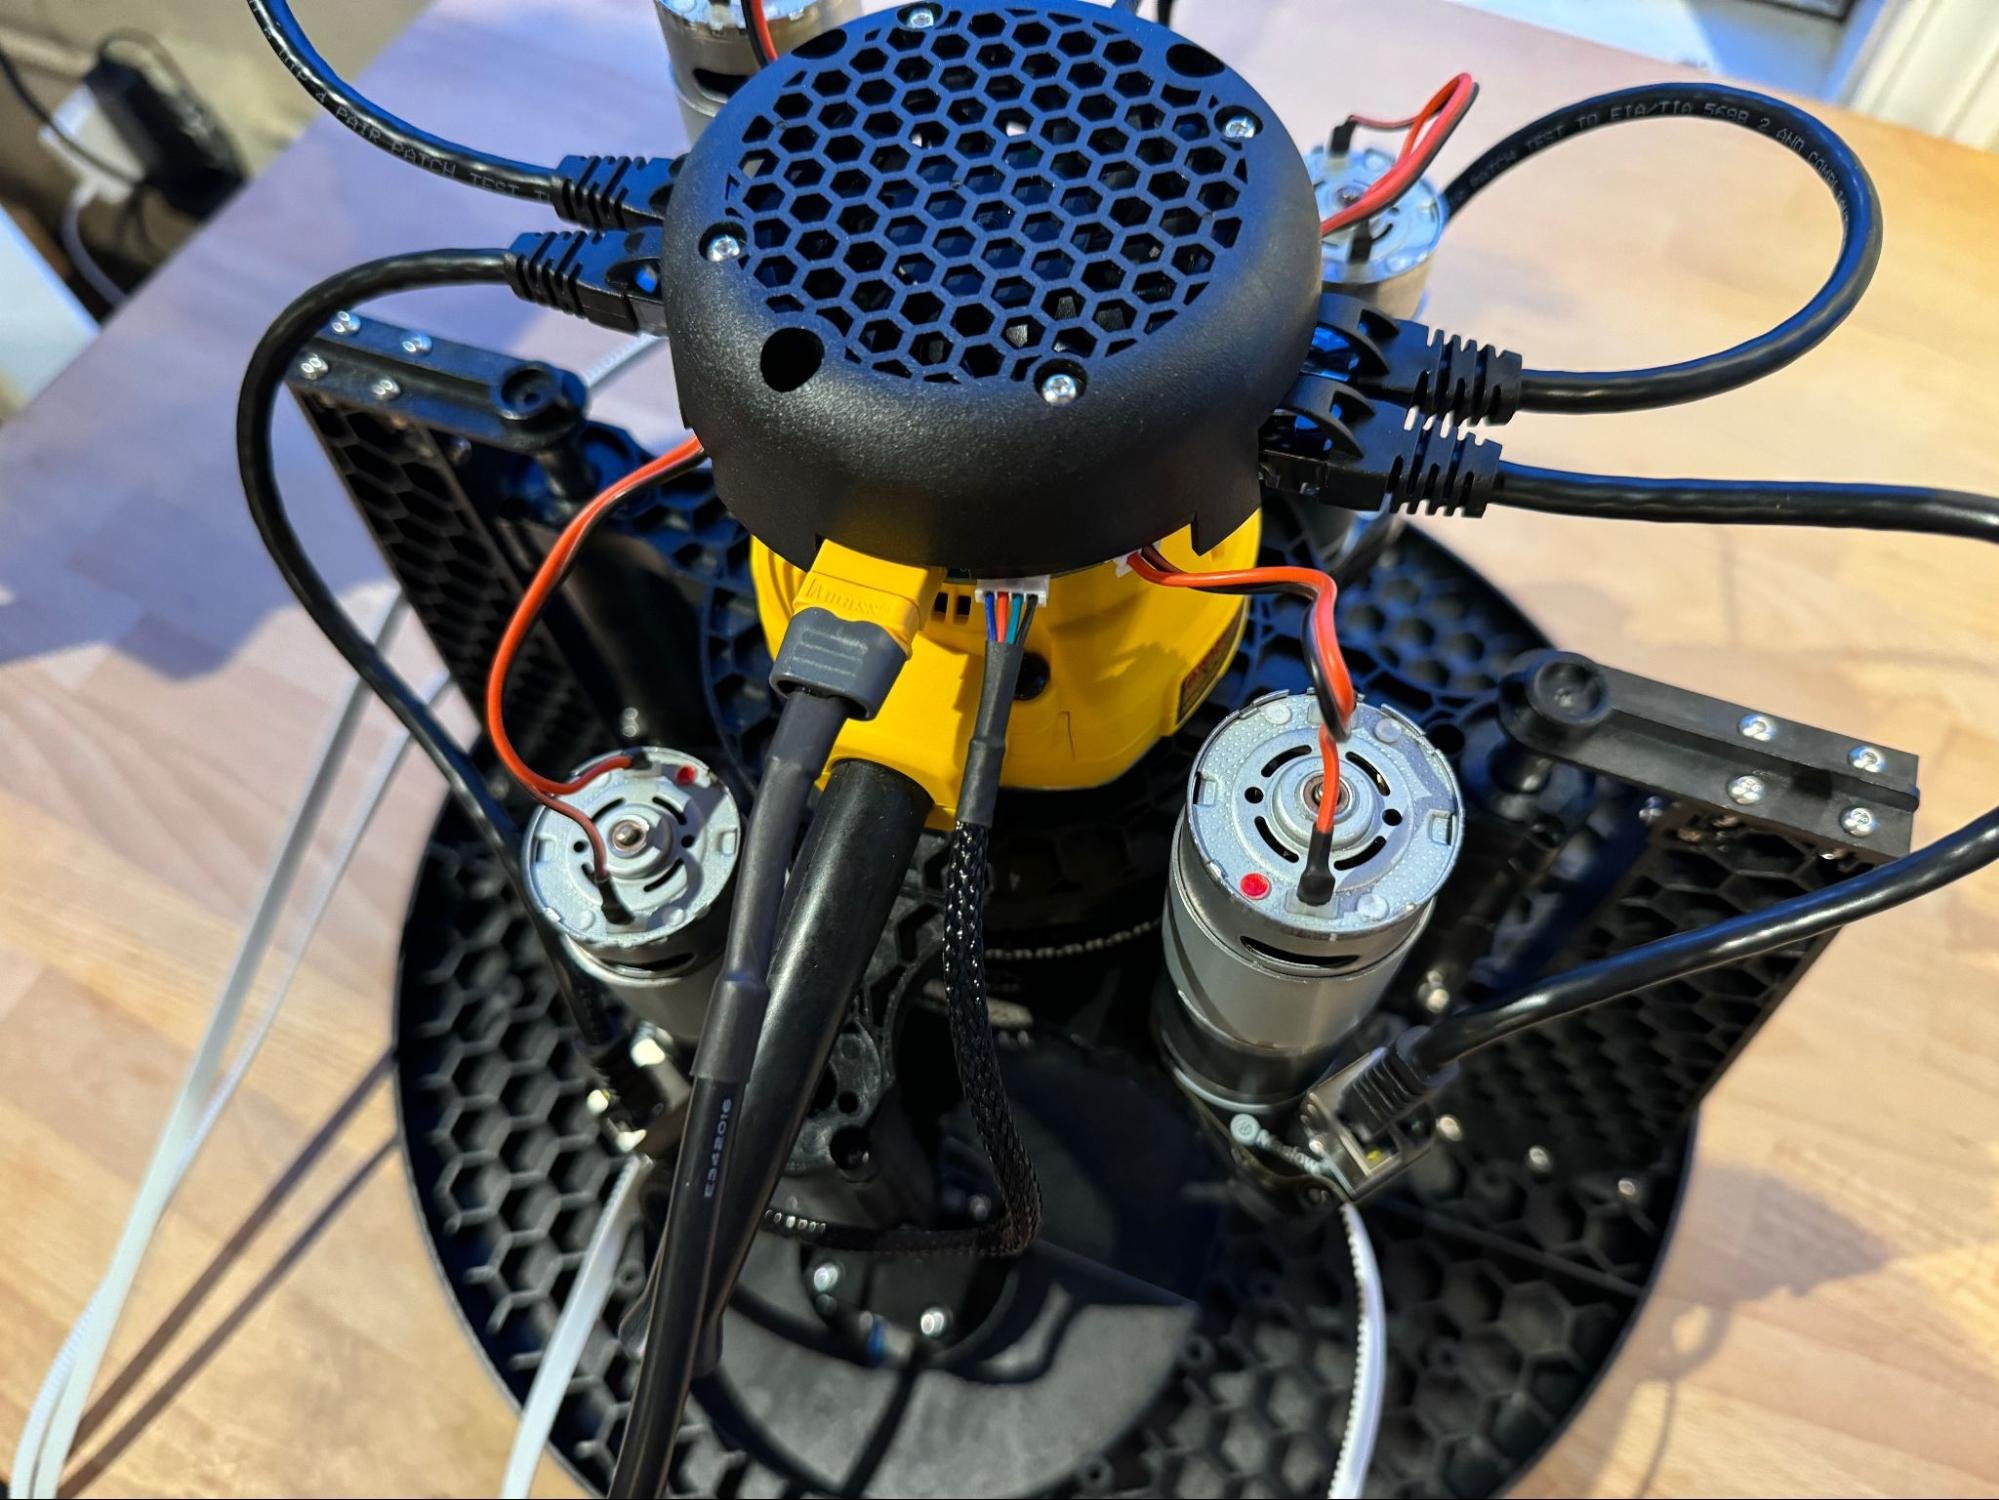
Step 3: Connect the Controller
Stepper Motor Connections
Plug the two stepper motors (from the sled) into the controller board. Each of the arms’ motors also connects to the controller board.
Power Connection
Plug the power supply into the controller after all mechanical parts are connected.
Important: Make sure all wiring is clear and not pressed against sensitive electronic parts. Loose wires might bump off small capacitors.
Step 4: Set Up Anchor Points
The four steel-reinforced belts run from each arm to anchor points on the frame. Maslow CNC needs four strong anchor points on a flat, rigid surface.
Anchor Requirements
- Anchor points handle up to 40 lbs of force—ensure your surface doesn’t flex.
- You can attach anchors into garage floors, sturdy plywood, or workbench tops.
- Use 10mm (3/8”) bolts or quick release pins for belt end rings.
- Smooth bolts are preferred, but threaded ones will work.
Attaching Belt Ends
Fold the belt in half, press it into the belt end piece, then attach using the appropriate bolts and nuts. You may need tools like parallel pliers or a small screwdriver to seat the belt and bolts tightly.
Step 5: Initial Power-Up
Connect power to the controller and verify that the system powers on correctly. The Maslow should create a WiFi network for connection.
Step 6: Calibration
Calibration is critical for accurate cutting. Maslow 4 uses servo motors and current feedback for automatic calibration.
Calibration Procedure
-
Extend and Retract Belts: Extend all belts fully and then retract them to confirm smooth movement. If any belt stops before fully retracting, tap ‘retract’ repeatedly until it seats.
-
Set Distance: Set the ‘Dist Extend’ value so the sled is near the center of your anchor rectangle.
-
Enter Anchor Dimensions: Input your anchor point measurements. Anchor points should be well outside your workspace.
-
Set Calibration Grid: The calibration grid size should be a bit smaller than your anchor rectangle, ideally covering the workspace but with a buffer.
-
Run Calibration Wizard: Follow the on-screen prompts to complete calibration. The system will perform belt-tensioning and positional calibration through software—no manual measuring required.
Calibration Troubleshooting
- High retraction force (over 1000): Friction is too high. Loosen or lubricate arms.
- Fitness value won’t reach 0.45: Often caused by a single bad measurement. Remove and re-measure problematic points.
- Belts not retracting evenly: Check spool, bearings, and wiring.
- Motors skipping or noisy: Check for obstructions or improper belt tension.
Step 7: Test Movement
Once calibration is complete, test the machine movement by jogging the sled to various positions on the work surface. Verify smooth, accurate movement in all directions.
Tips and Troubleshooting
- If retraction force numbers are too high (should be in the 800-1000 range), loosen the arms and use grease.
- Watch for gear scratching or damage; you can print replacement parts using PETG on a 3D printer.
- The Maslow can be operated vertically or horizontally depending on your workspace.
- Use a spoil board under your cutting work to protect your base surface.
Next Steps
Once your Maslow 4.1 is assembled and calibrated, proceed to the User Guide to learn how to use the web interface and run your first cuts.